In the past I’ve done two versions of this current project. Those consisted of two tree trunks on either side of a refrigerator /freezer with the branches arching over the top.
In this piece it will be mounted on the left side of a built in entertainment cabinet with the branches arching over the top.
It stands 8 ft tall and the branch alone will extend at least 7 ft. from the trunk. Including the tree itself and the other branches it will span approx. 9-10 ft. wide when done.
Butternut is the wood being used for this and currently there are over 45 blocks in place with maybe another 25 or so needed to finish the glue up.
Details on the tree itself, besides the leaves and branches will be a Squirrel sitting at the base of the tree, a birds nest carved into one of the branches which will have two chicks in it and two adult birds carved further out on the branch.
I’ll keep post updates as the glue up and carving continues.

This is one of the two completed tree carvings done in the past shown here for reference.

This is the center section for the above tree carving. It was done it three sections with this one being over 6 ft. wide.

Here is a view across the span of one of the original carvings during the carving stage.
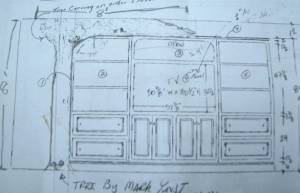
Here is a sketch of this current project
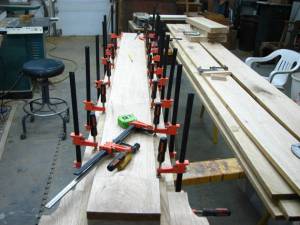
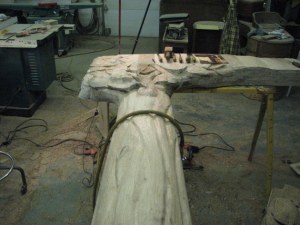
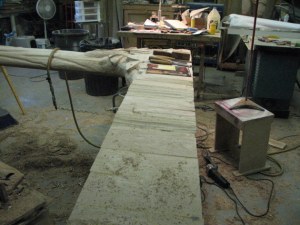
The initial glue up of the trunk.

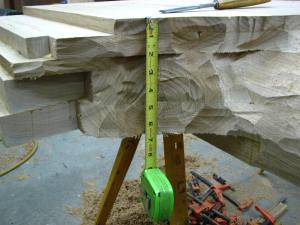
Clamping up the “roots” of the tree. There will also be a Squirrel sitting here.
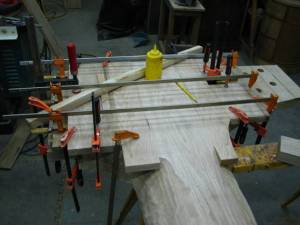
The beginnings of the top of the tree which will end up being approx. 4 ft. across. To the right is where the branch will attach.
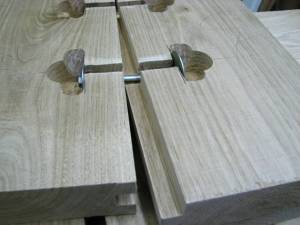
In order to attach the branch I made these cutouts to secure bolts in order to draw the two sections together. This particular joint will be a series of interlocking pieces to avoid a flat joint.

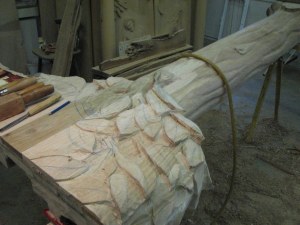
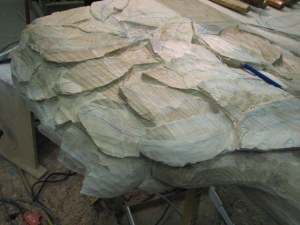
Top view showing the growing mass of the upper part of the tree.
It’s starting to gain some thickness with each glue up.
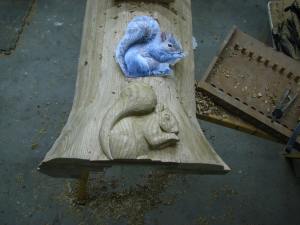
I needed to get the Squirrel in place prior to carving the roots which will appear to come out of the floor.


recent comments